

A web server is a software program that receives and responds to client requests via the HTTP/HTTPS protocols. Its primary purpose is to display website content which, oftentimes, is in the form of text, images, and video.
A web server can either serve static or dynamic content. Static content, as the name infers, refers to content that hardly changes and is bound to remain the same. The server sends back content to the user’s browser as is.
Dynamic content is content that often changes or is constantly updated. To serve dynamic content, a web server must also work alongside a database server and server-side scripting languages.
This guide will demonstrate how to set up an Apache web server to host a website on your Linux system for free.
Requirements
To follow along in this guide, ensure you have the following in place.
- A public IP address, which most home internet plans assign to your router by default, so check yours at whatismyip.com. Home IPs are dynamic and can change after a reboot, so either pay your ISP $5 to $20 per month for a static one, or use a free DDNS service like DuckDNS to keep a fixed hostname pointing to your current IP.
- A Linux box running Debian, Ubuntu, RHEL, or Rocky Linux. For this guide, we use Rocky Linux 10 with DuckDNS as the demonstration setup, but the steps work on any of the distros listed here.
If you’d rather skip the home setup and use a cloud server instead, a VPS is a cleaner option, because no port forwarding required, no router config, and your site stays online even when your home machine is off.
If you’ve been hunting for one clear guide to self-hosting a WordPress site on Linux, who’s still paying for managed hosting when they don’t need to.
Step 1: Set Up DuckDNS (Free Dynamic DNS)
DuckDNS gives you a fixed hostname like yoursite.duckdns.org and keeps it pointing to your home IP even when it changes. You’ll need this hostname for the Apache virtual host config and for the SSL certificate, so set it up before anything else.
Go to duckdns.org, sign in with your Google or GitHub account, type a subdomain name in the box, and click Add Domain. Your hostname is ready instantly. You’ll also see a token on the same page, so keep it private, since it’s the credential that authorises IP updates for your domain.
On your Linux server, create the update script:
mkdir -p ~/duckdns
echo 'echo url="https://www.duckdns.org/update?domains=&token=&ip=" | curl -k -o ~/duckdns/duck.log -K -' > ~/duckdns/duck.sh
chmod 700 ~/duckdns/duck.sh
Replace mywebsite) and
Now add it to cron so it runs every 5 minutes automatically:
crontab -e
Add this line at the bottom and save:
*/5 * * * * ~/duckdns/duck.sh >/dev/null 2>&1
Test it immediately to confirm it’s working:
~/duckdns/duck.sh
cat ~/duckdns/duck.log
The OK response confirms DuckDNS updated successfully and your hostname now points to your current IP. From this point, use
Step 2: Install Apache Web Server
Apache is a popular free and open-source cross-platform web server that is released under Apache License 2.0. It’s one of the most widely used web servers accounting for nearly 35% of the web server market share as of 2026, behind Nginx but still running on tens of millions of live websites.
To check the latest version of Apache available, and if it is installed on your server, run the command on Debian-based systems:
apt-cache policy apache2
From the output, you can see the parameter Installed: (none) implying that it is not installed yet. You also get information about the latest version being offered by Debian / Ubuntu repository, which in this case is 2.4.66.
apache2:
  Installed: (none)
  Candidate: 2.4.66-2ubuntu2.2
  Version table:
     2.4.66-2ubuntu2.2 500
        500 http://in.archive.ubuntu.com/ubuntu resolute-updates/main amd64 Packages
        500 http://security.ubuntu.com/ubuntu resolute-security/main amd64 Packages
     2.4.66-2ubuntu2 500
        500 http://in.archive.ubuntu.com/ubuntu resolute/main amd64 Packages
On modern Red Hat distributions, you can check for the availability of Apache using the following dnf command as follows.
dnf search httpd
Output:
Last metadata expiration check: 0:01:09 ago on Wed 17 Jun 2026 12:11:37 PM IST.
==================== Name Exactly Matched: httpd ====================
httpd.x86_64 : Apache HTTP Server
==================== Name & Summary Matched: httpd ====================
httpd-core.x86_64 : httpd minimal core
keycloak-httpd-client-install.noarch : Tools to configure Apache HTTPD as Keycloak client
libmicrohttpd-devel.x86_64 : Development files for libmicrohttpd
libmicrohttpd-doc.noarch : Documentation for libmicrohttpd
lighttpd-fastcgi.x86_64 : FastCGI module and spawning helper for lighttpd and PHP configuration
lighttpd-filesystem.noarch : The basic directory layout for lighttpd
lighttpd-mod_authn_gssapi.x86_64 : Authentication module for lighttpd that uses GSSAPI
lighttpd-mod_authn_ldap.x86_64 : Authentication module for lighttpd that uses LDAP
lighttpd-mod_authn_pam.x86_64 : Authentication module for lighttpd that uses PAM
lighttpd-mod_authn_sasl.x86_64 : Authentication module for lighttpd that uses SASL
...
From the above output, you can see that the Apache httpd package is available for download. If Apache is not installed on your system, use the ‘apt‘ or ‘dnf‘ package managers to install Apache as shown.
On Debian-based systems:
$ sudo apt install apache2 -y
$ sudo systemctl start apache2
$ sudo systemctl enable apache2
$ sudo systemctl status apache2
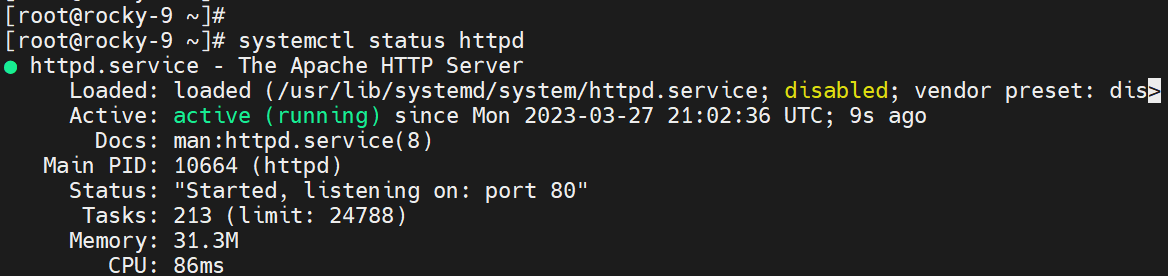
On Red-Hat-based systems:
# dnf install httpd -y
# systemctl start httpd
# systemctl enable httpd
# systemctl status httpd
Step 3: Install MariaDB Server
A fork of MySQL, MariaDB is one of the most popular and open-source relational database management systems. Nowadays, it’s preferred to MySQL due to its faster speeds in replication and performing queries as well as security and a vast array of storage engines.
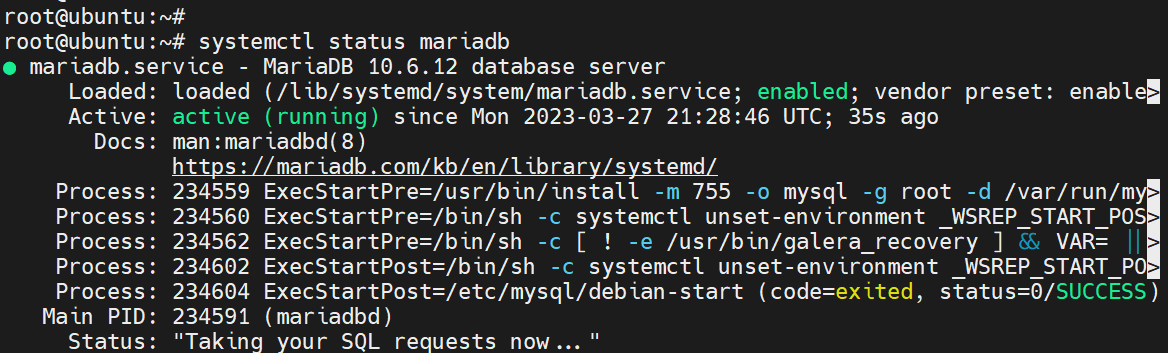
To install MariaDB, On Debian-based systems:
$ sudo apt install mariadb-server mariadb-client -y
$ sudo systemctl start mariadb
$ sudo systemctl enable mariadb
$ sudo systemctl status mariadb
The following output shows that MariaDB is installed and running as expected.
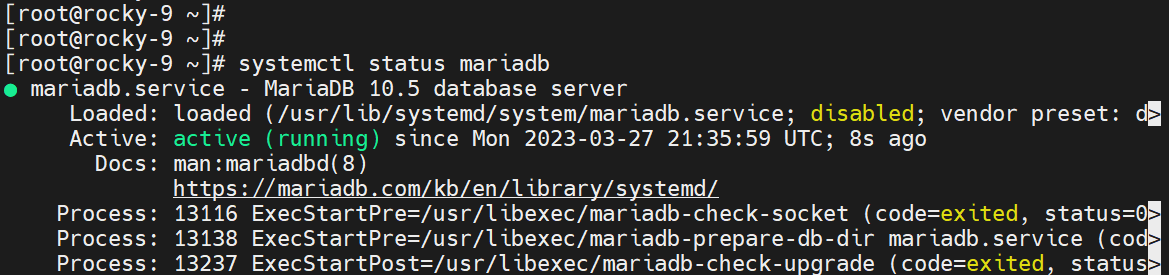
To install MariaDB, On RHEL-based systems:
$ sudo dnf install mariadb-server -y
$ sudo systemctl start mariadb
$ sudo systemctl enable mariadb
$ sudo systemctl status mariadb
Step 4: Install PHP and Modules
PHP is a recursive acronym for PHP Hypertext Preprocessor, which is a popular general-purpose scripting language that is mostly used in web development.
To install PHP, On Debian-based systems:
$ sudo apt update
$ sudo apt upgrade
$ sudo apt install php libapache2-mod-php
To install PHP, On RHEL-based systems, you need to first enable the EPEL repository.
$ sudo dnf update
$ sudo dnf upgrade
$ sudo dnf install php php-cli php-common
With all the components installed, you can now build your website using WordPress CMS, which is software that makes it easy or users to develop and manage a website without necessarily having knowledge of web design languages such as HTML, CSS, PHP, and Javascript.
Got your LAMP stack installed and running? so nobody has to piece this together from 5 different docs.
Step 5: Host a Website with WordPress
WordPress is a data-driven, free, and open-source content management system written in PHP that uses the MariaDB database to store all posts, pages, categories, comments, themes, plugins, and configuration.
For demonstration, we’ll install WordPress on Ubuntu 26.04 and Rocky Linux 10 as a sample site that you can customize further.
Install Additional PHP Modules
To proceed, install additional PHP modules that are required by WordPress as shown.
To install PHP modules, On Debian-based systems:
$ sudo apt install php libapache2-mod-php php-pear php-cgi php-common php-mbstring php-zip php-net-socket php-gd php-mysql php-bcmath
To install PHP modules, On RHEL-based systems:
sudo dnf install php-gd php-soap php-intl php-mysqlnd php-pdo php-bcmath php-curl php-zip php-xml wget
Create a Database for WordPress
WordPress needs its own dedicated database, so log in to MariaDB as root to create it:
$ sudo mysql -u root -p
Next, create a database as shown
CREATE DATABASE wordpress_db;
Next, create a database user and assign all privileges to the user on the database.
GRANT ALL PRIVILEGES ON wordpress_db.* to wordpress_user@localhost identified by 'P@ssword321';
Then finally reload the grant tables to save the changes made and exit the database.
FLUSH PRIVILEGES;
QUIT;
Replace P@ssword321 with a strong password you generate.
Download WordPress Files
With the database in place, proceed and download the latest WordPress tarball file using the wget command.
$ wget https://wordpress.org/latest.tar.gz
Once downloaded, extract the compressed file using the tar command.
$ tar -xvzf latest.tar.gz
The command extracts the contents of the file into a folder called wordpress. Move or copy the folder into the Document Root for the Apache webserver.
$ sudo mv wordpress/ /var/www/html/
Next, assign the following permissions and ownership rights.
$ sudo chmod 755 -R /var/www/html/wordpress/
$ sudo chown -R www-data:www-data /var/www/html/wordpress/  [Debian-based]
$ sudo chown -R apache:apache /var/www/html/wordpress/  [RHEL-based]
Rocky Linux runs SELinux in enforcing mode by default. When you move files with mv, they keep their original SELinux context instead of getting the httpd_sys_content_t label Apache needs to read them.
Without this fix, Apache returns Access denied even with correct file permissions.
$ sudo restorecon -Rv /var/www/html/wordpress/
This resets the SELinux context on every file under the WordPress directory. The -R flag is recursive, -v shows each file being relabelled.
Create an Apache Virtual Host for WordPress
The terminology virtual host refers to the practice of hosting multiple websites on a single server. If you intend to host multiple websites on a single server, you need to create a virtual host for each website.
On Debian/Ubuntu, Apache uses a sites-available convention with enable/disable tooling:
sudo nano /etc/apache2/sites-available/wordpress.conf
On RHEL/Rocky Linux, virtual host configs go in /etc/httpd/conf.d/ as standalone files, becuase apache auto-includes every .conf file in that directory at startup:
sudo vi /etc/httpd/conf.d/wordpress.conf
On Debian/Ubuntu:
     ServerAdmin admin@your_domain.com
     DocumentRoot /var/www/html/wordpress
     ServerName .duckdns.org


          Options FollowSymlinks
          AllowOverride All
          Require all granted


     ErrorLog ${APACHE_LOG_DIR}/wordpress_error.log
     CustomLog ${APACHE_LOG_DIR}/wordpress_access.log combined
On RHEL/Rocky Linux:
     ServerAdmin admin@your_domain.com
     DocumentRoot /var/www/html/wordpress
     ServerName .duckdns.org


          Options FollowSymlinks
          AllowOverride All
          Require all granted


     ErrorLog /var/log/httpd/wordpress_error.log
     CustomLog /var/log/httpd/wordpress_access.log combined
Save the changes and exit the file.
To connect to the database, some additional modifications are needed. So, navigate into the wordpress folder.
cd /var/www/html/wordpress/
Next, update the wp-config.php file with the contents of the wp-config-sample.php file.
$ cp wp-config-sample.php wp-config.php
$ sudo nano wp-config.php
Next, update the database name, db username, and password directives with the database details.
define( 'DB_NAME', 'wordpress_db' );
define( 'DB_USER', 'wordpress_user' );
define( 'DB_PASSWORD', 'P@ssword321' );
define( 'DB_HOST', 'localhost' );
Next, enable the new WordPress site as follows on Debian-based systems.
$ sudo ln -s /etc/apache2/sites-available/wordpress.conf /etc/apache2/sites-enabled/wordpress.conf
$ sudo a2ensite wordpress
$ sudo a2enmod rewrite
$ sudo a2dissite 000-default
To effect the changes, restart Apache.
$ sudo systemctl restart apache2   [On Debian]
$ sudo systemctl restart httpd  [On RHEL]
Configure the Firewall
Before hitting the browser, open ports 80 and 443 on the firewall, which is the most common reason a freshly configured Apache install doesn’t load in the browser.
On Ubuntu/Debian (ufw):
$ sudo ufw allow 80/tcp
$ sudo ufw allow 443/tcp
$ sudo ufw reload
$ sudo ufw status
On RHEL/Rocky Linux (firewalld):
$ sudo firewall-cmd --permanent --add-service=http
$ sudo firewall-cmd --permanent --add-service=https
$ sudo firewall-cmd --reload
$ sudo firewall-cmd --list-all
Got the virtual host set up and WordPress extracted? on your team who asks how to self-host a site on Linux.
Step 6: Set Up Port Forwarding
Since you’re self-hosting from a private network, external users can’t reach your server using its internal IP address. Port forwarding lets your router pass incoming traffic on ports 80 and 443 directly to your Linux server.
Set this up before opening the WordPress installer, so WordPress stores your DuckDNS hostname as the site URL from day one.
First, check your server’s private IP:
hostname -I
If you see 192.168.0.x is your server’s LAN IP. That’s what you’ll enter in your router.
Log into your router admin panel at http://192.168.0.1 or http://192.168.1.1 and go to the Port Forwarding section and these 2 rules:
| External Port | Protocol | Internal IP | Internal Port |
|---|---|---|---|
| 80 | TCP | 192.168.0.162 | 80 |
| 443 | TCP | 192.168.0.162 | 443 |
Save the changes and reboot the router if required.
Finally, test from mobile 4G/5G data, not home WiFi, because most home routers don’t support NAT hairpinning, meaning a device on your home WiFi can’t reach your own public IP through the router.
Mobile data gives a true external test:
curl -I http://your-subdomain.duckdns.org
You should see:
HTTP/1.1 302 Found
Location: http://your-subdomain.duckdns.org/wp-admin/install.php
And since the server is now public-facing, SSH is how you’ll manage it remotely without touching the physical machine.
Step 7: Complete WordPress Setup on a Browser
To complete the setup, browse your web server’s IP address as shown:
http://server-ip
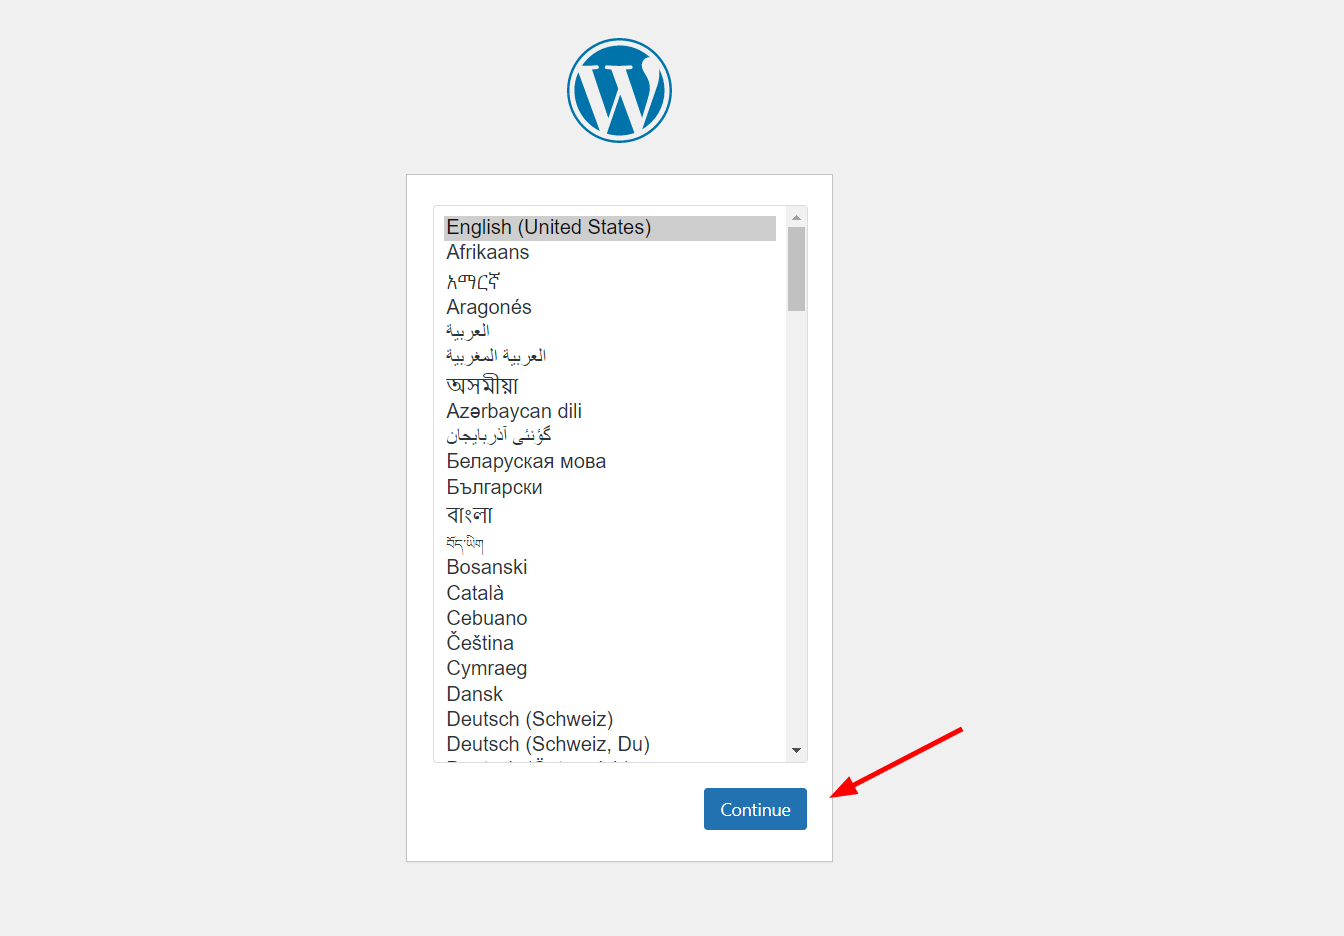
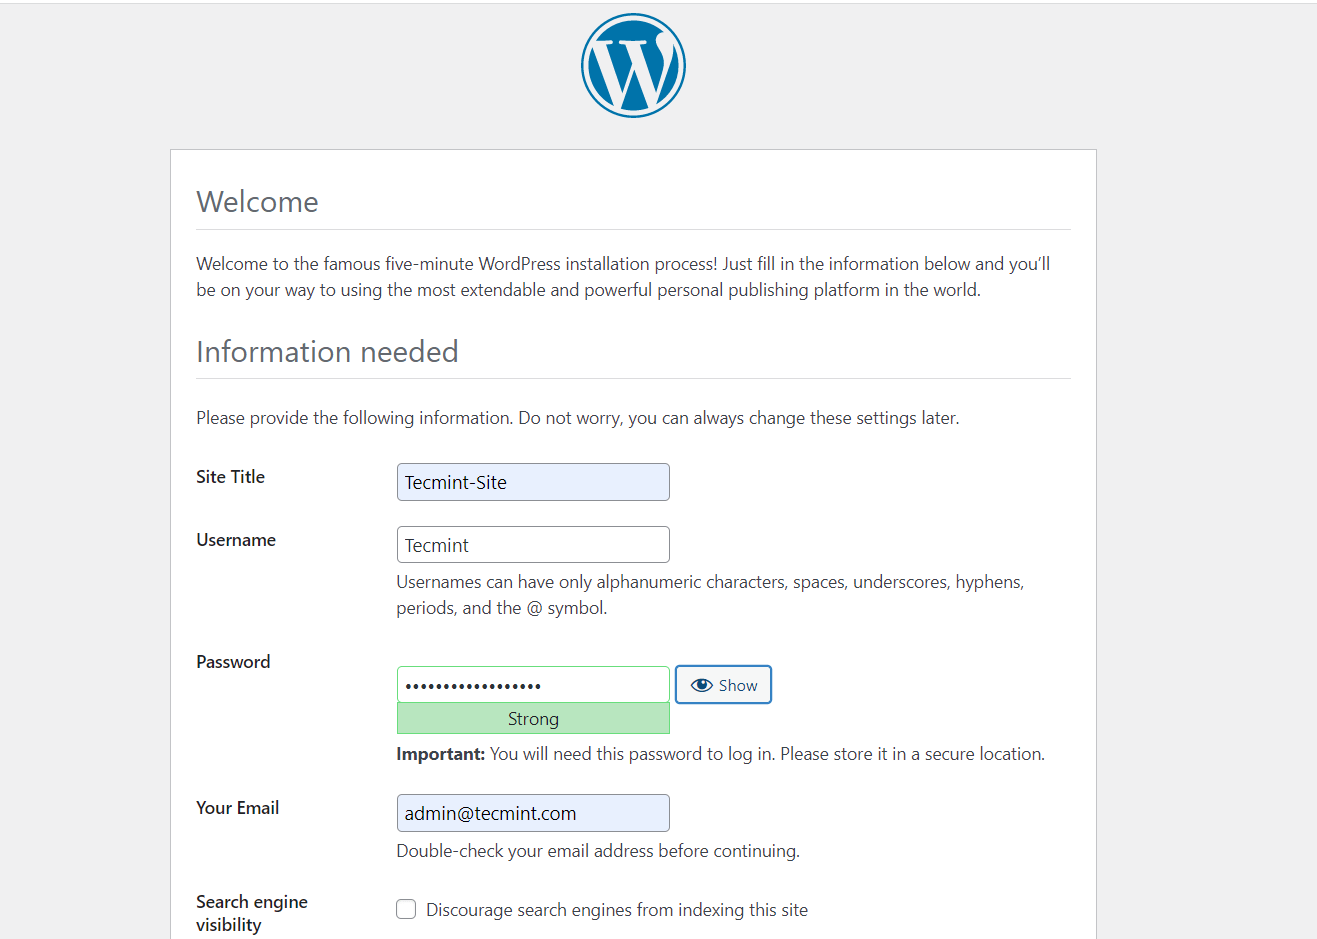
You should get the WordPress welcome page displayed as shown. Select your preferred language and click ‘Continue’.
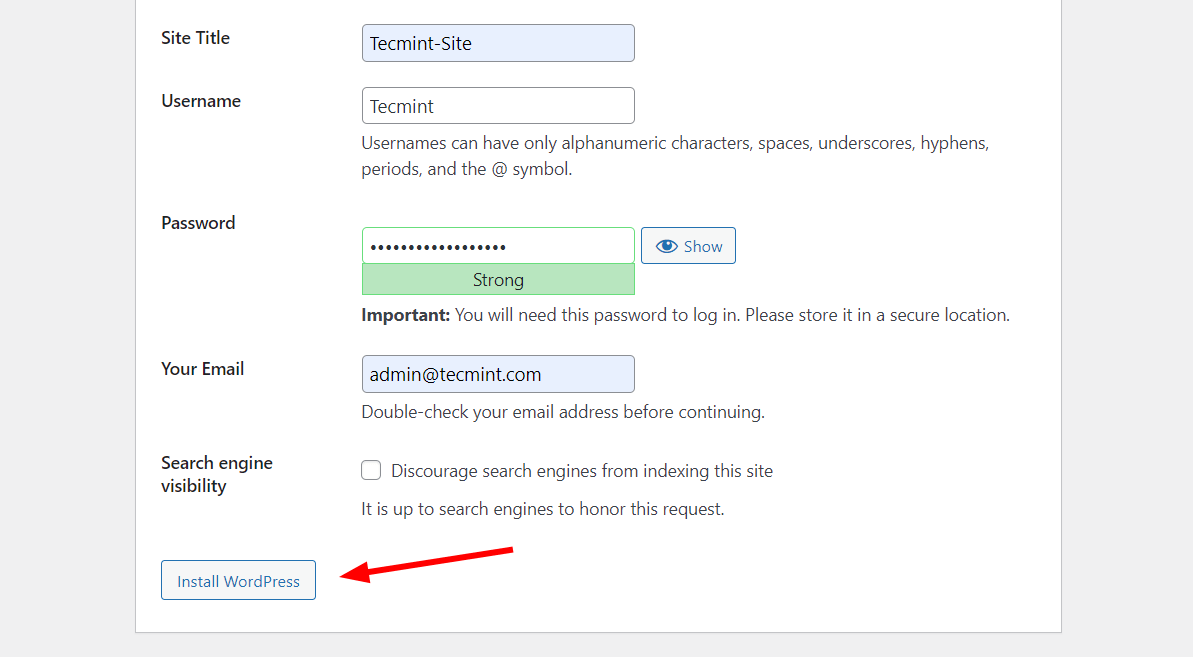
Next, fill in the site details.
Then click ‘Install WordPress’ to complete the WordPress setup.
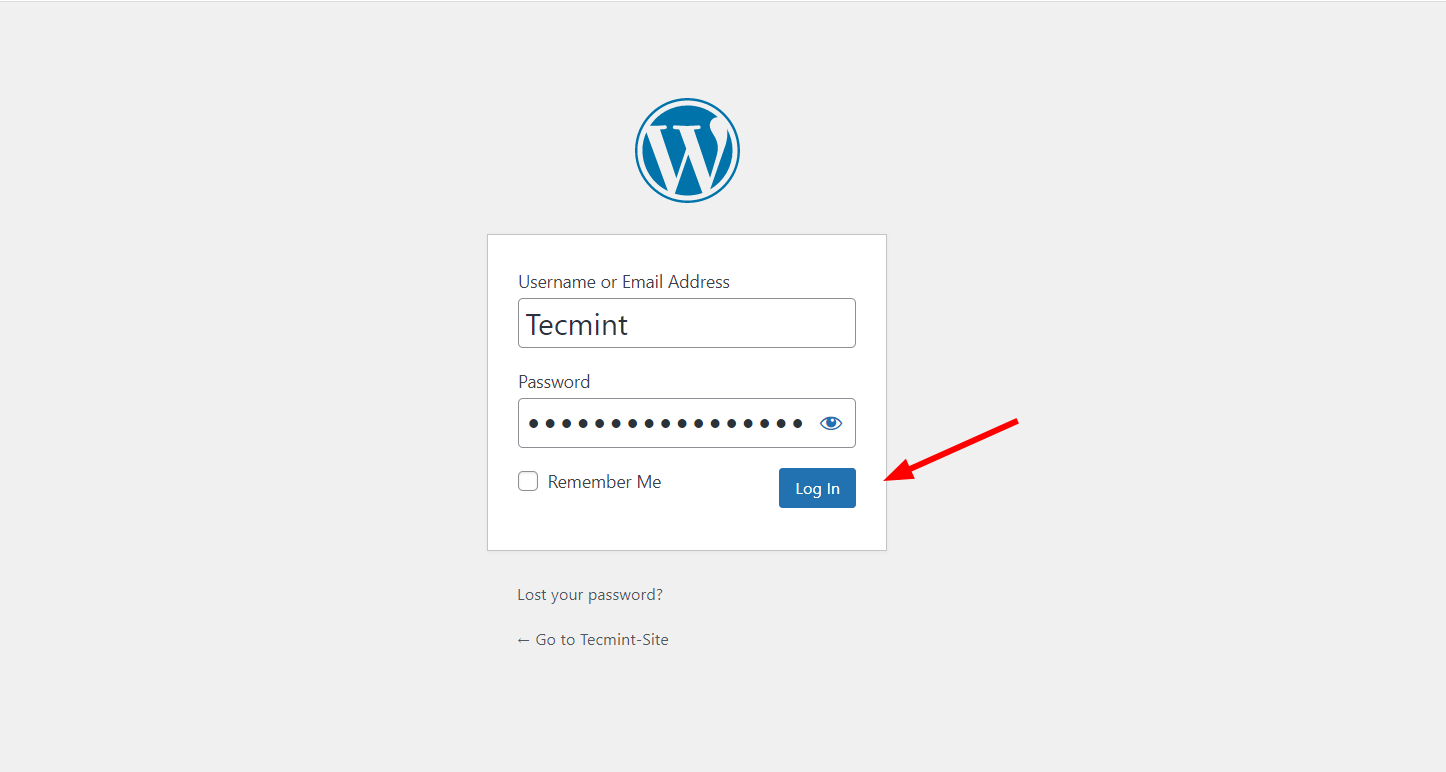
If everything went right, you will get a confirmation that the installation was successful. To log in, click the ‘Log In‘ button.
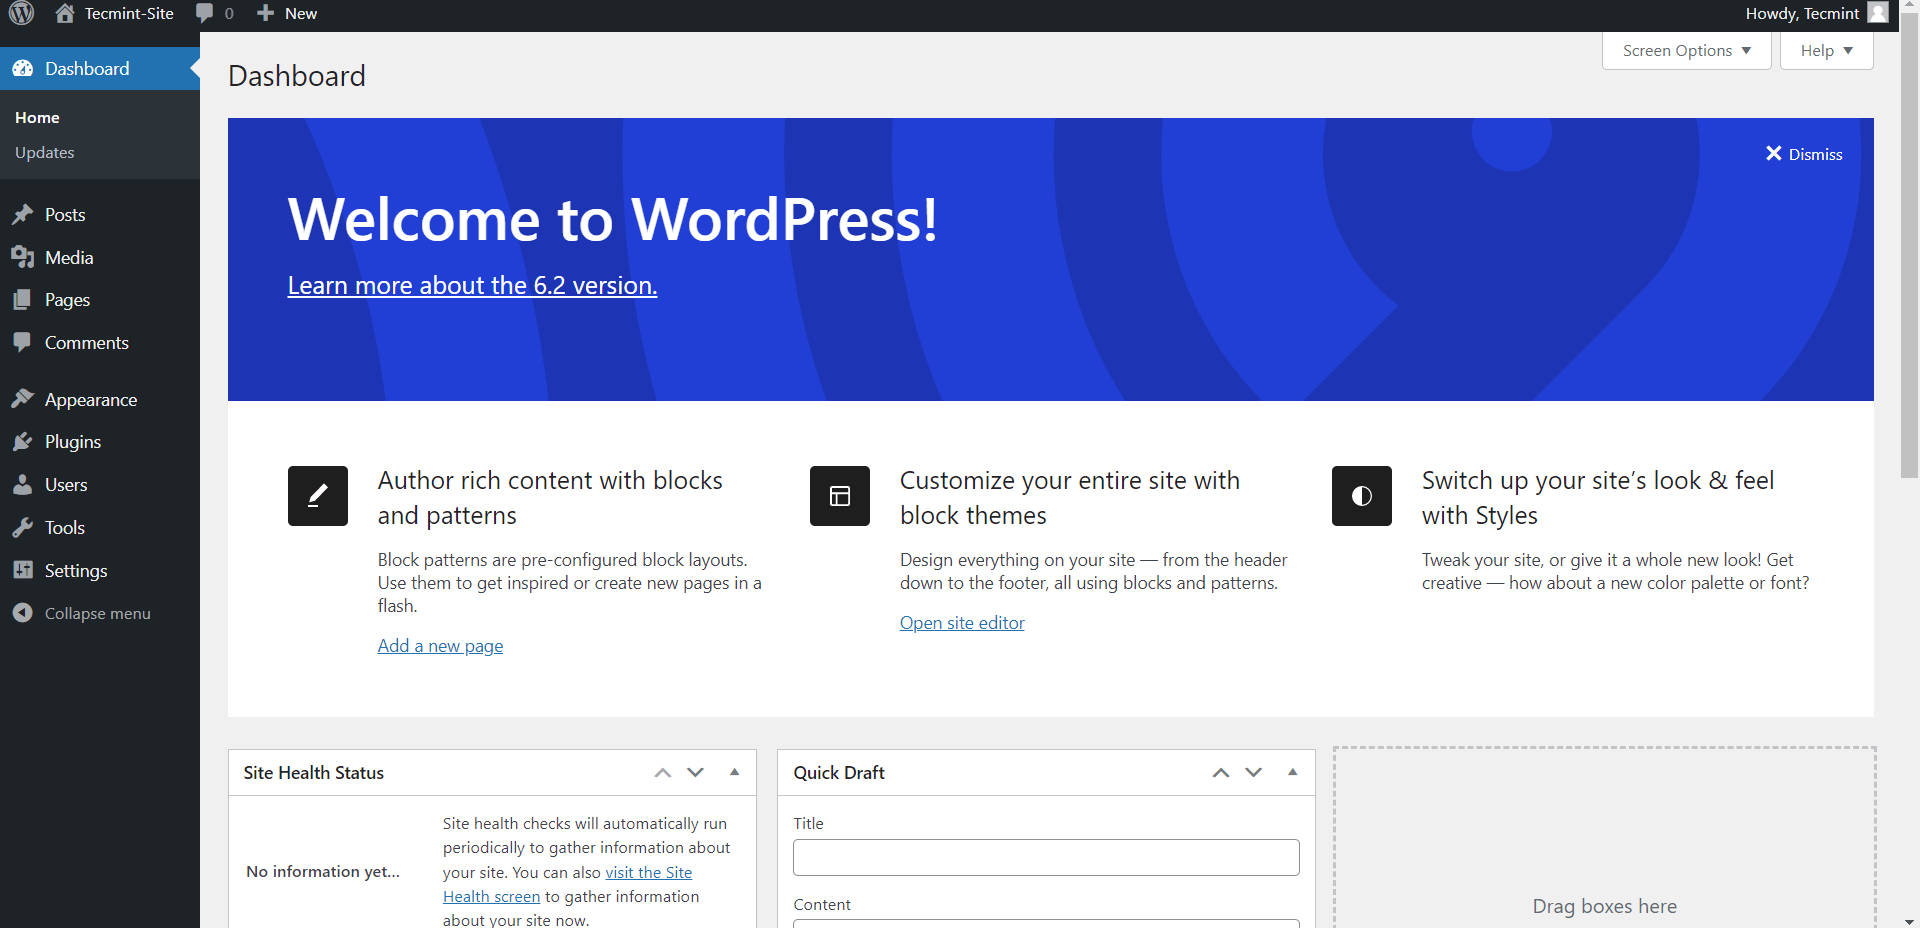
This ushers you to the WordPress dashboard as you can see. At this point, you can experiment with various themes to enhance the appearance of your sample website.
Step 8: Set Up SSL with Let’s Encrypt
HTTP works for local testing, but any public-facing site needs HTTPS and for this we are using Let’s Encrypt that gives you a free SSL certificate and Certbot writes the configuration directly into your Apache virtual host.
On Debian-based systems:
sudo apt install certbot python3-certbot-apache -y
sudo certbot --apache -d your-subdomain.duckdns.org
On RHEL-based systems:
sudo dnf install certbot python3-certbot-apache -y
sudo certbot --apache -d your-subdomain.duckdns.org
Replace your-subdomain with the subdomain you registered on DuckDNS. Certbot will ask for your email address and whether to redirect HTTP to HTTPS. Choose to redirect. It updates your virtual host config automatically and sets up a renewal cron job so the certificate renews before it expires.
Running a public site without HTTPS in 2026? who keeps putting off SSL because the setup looked complicated.
Conclusion
You’ve set up DuckDNS for a free dynamic hostname, installed Apache, MariaDB, and PHP on Linux, configured a WordPress database and virtual host, opened firewall ports, set up port forwarding for external access, completed the WordPress browser install, and added a free SSL certificate. That’s a complete self-hosted setup from a blank Linux machine.
Right now, log in to your WordPress dashboard and install a theme. The Twenty Twenty-Four theme is a clean starting point that shows the full block editor without requiring any additional plugins.
If this article helped, with someone on your team.