

Coolify is an open-source, self-hosted platform that deploys web apps, databases, and services on your own server without the monthly bills of Heroku, Vercel, or Railway, and this guide walks through installing it on a fresh Linux server, connecting a domain, and deploying your first app with git push.
Most developers pay 20 to 200 dollars a month for a platform that runs on a server they will never see, configured by a team they will never meet, on pricing that keeps going up every quarter.
Coolify puts that same workflow on a 5 dollar VPS you already own, with full control over the hardware, the data, and the network. The catch is that the install docs skip over the parts that break on a real server, so this guide covers the exact steps that actually work on a clean Ubuntu box.
Every command below was tested on Ubuntu 24.04 LTS with 4 GB of RAM, 40 GB of disk, and Coolify version 4, but the commands work on Debian and any modern Docker-compatible Linux distribution.
The server was a fresh VPS with only SSH access and nothing else installed, which is the most common starting point for a self-hosted setup.
The Real Problem Coolify Solves
Managed platforms like Heroku and Vercel solved the pain of configuring servers, but they solved it by charging you rent on infrastructure you could own for a fraction of the price.
A basic Heroku dyno starts at 7 dollars per month per app, a Postgres addon adds another 9 dollars, and a Redis instance pushes the bill past 25 dollars before you have shipped a single feature. Multiply that by 5 side projects, and you are paying 125 dollars a month for services that would fit comfortably on one 12 dollar VPS.
Coolify gives you the same git push deployment experience, the same one-click database provisioning, and the same automatic SSL certificates, but the whole stack runs on your own server under your own domain.
You install it once, point a domain at it, and every app you deploy after that takes 30 seconds to set up. The only ongoing cost is the VPS itself, which you were probably going to pay for anyway.
Coolify Prerequisites
Any VPS provider works, but DigitalOcean is the easiest starting point because their 6 dollar Droplet hits Coolify’s minimum specs exactly, the Ubuntu 24.04 image is pre-configured with SSH, and new accounts get 200 dollars in free credit for 60 days, which covers about 33 months of Coolify hosting before you pay anything.
Coolify has a short list of hard requirements, and skipping any of them causes the install to fail in ways that are hard to debug later. You need a Linux server with at least 2 CPU cores, 2 GB of RAM, and 30 GB of disk space, though 4 GB of RAM is the realistic minimum if you plan to run more than two apps side by side.
The server must have a public IP address and ports 80, 443, 22, and 8000 open in the firewall, because Coolify uses port 8000 for its dashboard during setup and ports 80 and 443 for your deployed apps.
You also need a user account with sudo privileges, which is the prefix that runs a command with root privileges and is required for anything that touches system files, installs packages, or manages services.
A domain name is optional for the install itself, but you will need one to serve apps with HTTPS, which is almost every real-world use case. Point an A record for your domain or a subdomain, like coolify.yourdomain.com, at your server’s public IP before you start, because DNS takes time to propagate and you want it ready by the time the install finishes.
Step 1: Update the System
Start by updating the package index and upgrading any existing packages, which is the standard first step on any fresh Linux server and clears out outdated versions that might conflict with Docker later.
The commands differ slightly between Ubuntu-based systems and RHEL-based systems, so pick the one that matches your distro.
On Ubuntu/Debian:
sudo apt update && sudo apt upgrade -y
On RHEL/Rocky Linux:
sudo dnf update -y
Expected output on Ubuntu:
Reading package lists... Done
Building dependency tree... Done
Reading state information... Done
All packages are up to date.
Reading package lists... Done
Building dependency tree... Done
Reading state information... Done
Calculating upgrade... Done
The output confirms that the system fetched the latest package metadata and that no upgrades are pending, which means you have a clean base to work from. If you see a long list of packages being upgraded instead, let it finish before moving on because interrupting an upgrade can leave the package manager in a broken state.
If you see E: Could not get lock /var/lib/dpkg/lock-frontend, another process is using the package manager, so wait a minute and try again or check for a running apt process with:
ps aux | grep apt
Step 2: Install Curl and Required Utilities
Coolify’s install script pulls down Docker, configures the daemon, and sets up the dashboard in one shot, but it relies on curl being present on the system. A minimal VPS image sometimes ships without curl, so install it explicitly along with a few other utilities that the script expects.
sudo apt install -y curl wget git
Expected output:
Reading package lists... Done
Building dependency tree... Done
Reading state information... Done
curl is already the newest version (8.5.0-2ubuntu10.8).
wget is already the newest version (1.21.4-1ubuntu4.1).
git is already the newest version (1:2.43.0-1ubuntu7.3).
0 upgraded, 0 newly installed, 0 to remove and 0 not upgraded.
The output shows that all three tools are installed and at their latest versions, which means the next step will work without hitting a missing-command error. On a truly minimal image you will instead see the packages being downloaded and unpacked, which is fine and takes about 10 seconds.
If you see Permission denied, you forgot the sudo prefix or your user is not in the sudo group, which you can fix by running su - to switch to root temporarily or by adding your user to the sudo group with:
usermod -aG sudo username
Step 3: Run the Coolify Install Script
This is the step that does the real work, and it installs Docker, pulls the Coolify containers, sets up the internal network, and starts the dashboard.
Run it directly from Coolify’s official install URL, which is maintained by the Coolify team and is the only supported installation method for the current version.
curl -fsSL https://cdn.coollabs.io/coolify/install.sh | sudo bash
Expected output (trimmed for readability):
==========================================
   Coolify Installation - 20260421-105808
==========================================

Welcome to Coolify Installer!
This script will install everything for you. Sit back and relax.
Source code: https://github.com/coollabsio/coolify/blob/v4.x/scripts/install.sh
Using default registry URL: ghcr.io
---------------------------------------------
| Operating System  | ubuntu 24.04
| Docker            | latest
| Coolify           | 4.0.0-beta.473
| Helper            | 1.0.13
| Realtime          | 1.0.13
| Docker Pool       | 10.0.0.0/8 (size 24)
| Registry URL      | ghcr.io
---------------------------------------------
.....
============================================================
[2026-04-21 10:59:38] Installation Complete
============================================================
[2026-04-21 10:59:38] Coolify installation completed successfully
[2026-04-21 10:59:38] Version: 4.0.0-beta.473
[2026-04-21 10:59:38] Log file: /data/coolify/source/installation-20260421-105808.log
The output walks through detecting the OS, installing Docker if it is missing, pulling the Coolify images, and starting the containers, and the final line tells you the exact URL to open in your browser.
Replace your-server-ip with the actual IP address of your server, which you can find with ip a if you do not already know it. The install takes between 2 and 10 minutes depending on your server’s network speed.
If the script hangs on Waiting for Docker to start, Docker failed to start because of a kernel mismatch on some VPS providers, which you can fix by rebooting with sudo reboot and running the script again.
Step 4: Open the Coolify Dashboard and Setup
Open a browser and go to http://your-server-ip:8000, and you will see the Coolify registration page. The first account you create becomes the root admin for the entire instance, so use a strong password and an email address you actually check because password resets go through email.
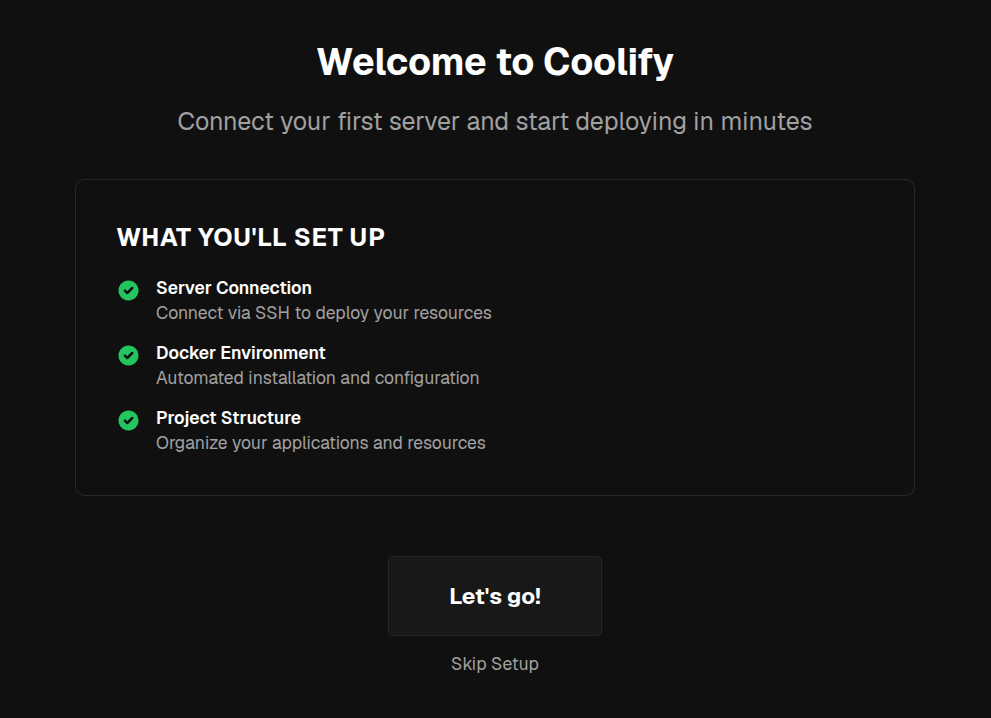
After registration, Coolify drops you into the onboarding flow that walks through adding a server, connecting a Git source, and configuring your first project. The server is already added as localhost because Coolify installed itself on the same box, so you can skip straight to connecting GitHub or GitLab if you want git push deployments.
If the dashboard does not load and your browser shows ERR_CONNECTION_REFUSED, port 8000 is blocked by the firewall, which you can fix with:
sudo ufw allow 8000/tcp #Ubuntu
Or
sudo firewall-cmd --add-port=8000/tcp --permanent  #RHEL
sudo firewall-cmd --reload
Step 5: Point Your Domain and Enable HTTPS
Inside the dashboard, go to Settings, then Instance Settings, and set the Instance’s Domain field to your actual domain, like https://coolify.yourdomain.com, which tells Coolify to serve the dashboard over HTTPS instead of plain HTTP on port 8000.
Coolify uses Traefik under the hood to handle automatic SSL certificates from Let’s Encrypt, so as long as your DNS A record points at the server, the certificate provisions in about 30 seconds after you save.
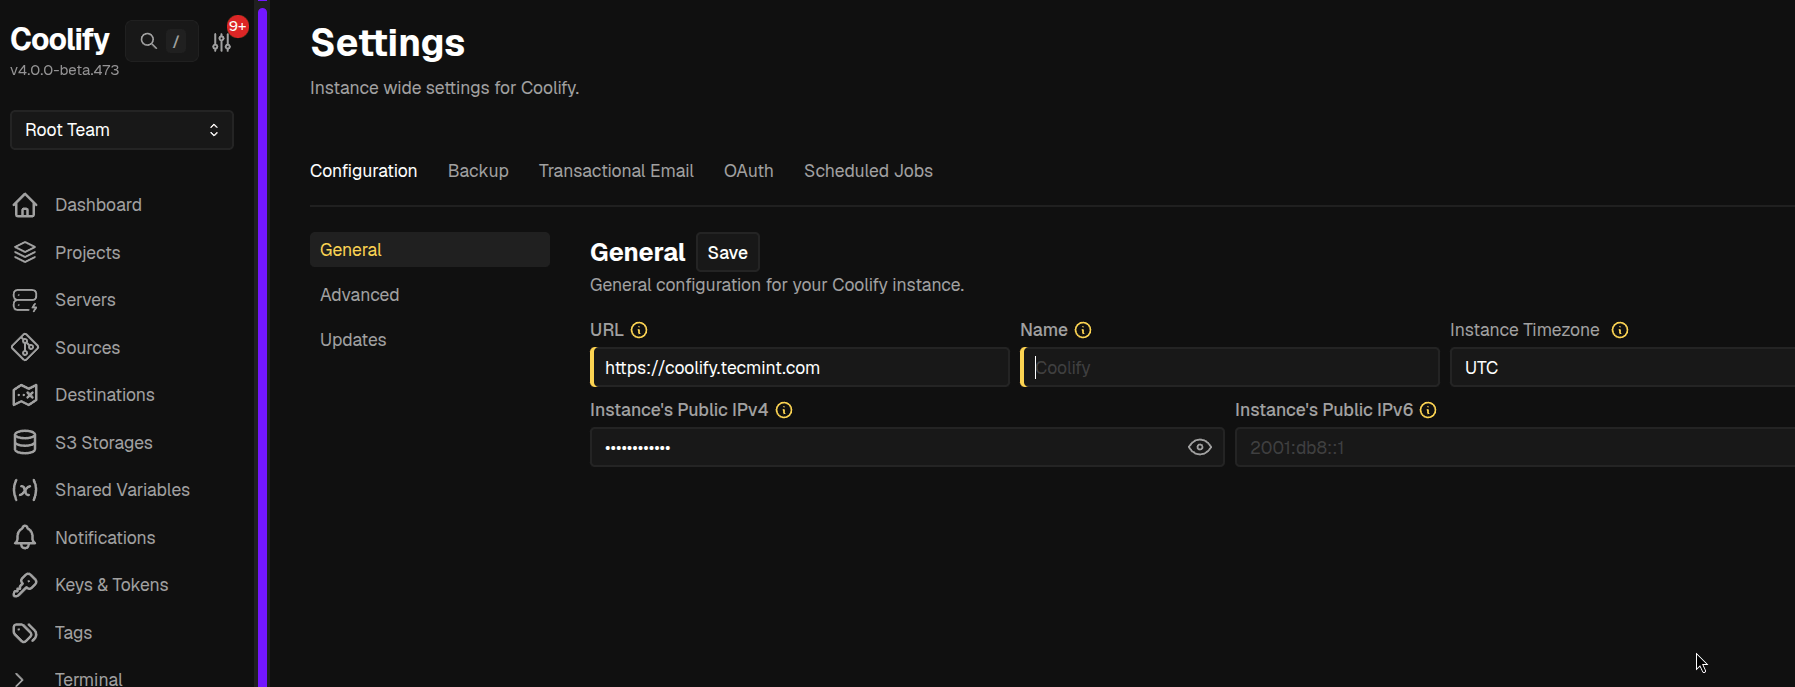
Once the domain is set, the dashboard URL changes from http://your-server-ip:8000 to https://coolify.yourdomain.com, and any apps you deploy after that get their own subdomains with automatic SSL.
You can deploy a full-stack app by clicking New Resource, picking Public Repository, pasting a GitHub URL, and letting Coolify detect the framework, which works out of the box for Node.js, Python, PHP, Go, Ruby, and static sites.
Common Errors and Fixes
The install script fails with ERROR: Docker Compose is not installed correctly, which happens when an older docker-compose package is already on the system and conflicts with the new Docker Compose plugin.
Fix it by removing the old package with sudo apt remove docker-compose -y and running the install script again.
The dashboard shows 502 Bad Gateway after setting the domain, which means Traefik cannot reach the Coolify container because the domain is not resolving to the server yet. Fix it by running dig coolify.yourdomain.com and confirming the A record returns your server’s IP, then waiting 5 minutes for DNS to settle.
Conclusion
You installed Coolify on a fresh Linux server, connected a domain, and set up a self-hosted PaaS that deploys apps from Git with automatic SSL, which replaces the 20 to 200 dollar monthly bill from Heroku or Vercel with a single VPS you already control.
Deploy a small Node.js or static site next as your first real test, because pushing a public repo through the New Resource flow is the fastest way to see the whole pipeline work end to end.
Watch the build logs as they stream, because that is where you learn how Coolify handles your specific framework and where any misconfiguration shows up first.
Have you run Coolify in production yet, or are you still paying for a managed platform? What was the trickiest part of your self-hosted setup? Tell us in the comments below.