

Build a Dockerized Todo List RESTful API in C# with GitHub Actions and Azure Container App: A Step-by-Step Guide
Building scalable, portable, and easy-to-maintain applications has become necessary in today’s software development environment. Whether you are developing a simple project or designing a complex large-scale system, mastering API development and containerization is essential.
Azure Container Apps is a Serverless container platform provided by Microsoft Azure that allows you to deploy and run microservices and containerized applications without the need for complex infrastructure such as Kubernetes.
In this blog, you will gain hands-on experience using modern technology and tools to build a Todo List RESTful API using C#, Docker, deploy and run the Docker container on Azure Container App.
Get Started
Ensure you have the following software installed in your workstation
- .NET SDK: Download the .NET SDK from here
- Docker: Install Docker Desktop here
- IDE: Use your favorite IDE for coding
Step 1: Set Up the project
a. Create a New Web API Project: Open your terminal and run the command below
dotnet new webapi -n TodoListAPI
cd TodoListAPI
b. Install the required packages: Add Microsoft.EntityFrameworkCore.InMemory for in-memory data storage. Run the command below
dotnet add package Microsoft.EntityFrameworkCore.InMemory
c. Run the API: Verify that the bootstrap template works. Run the command
dotnet run
After running command dotnet run you will have similar screenshots like the one below
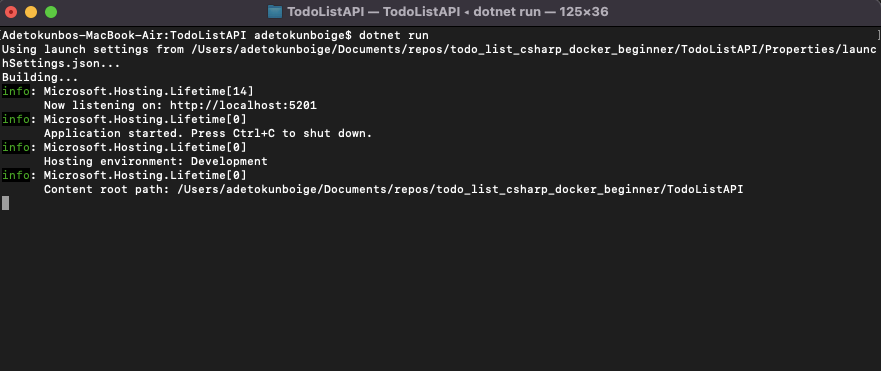
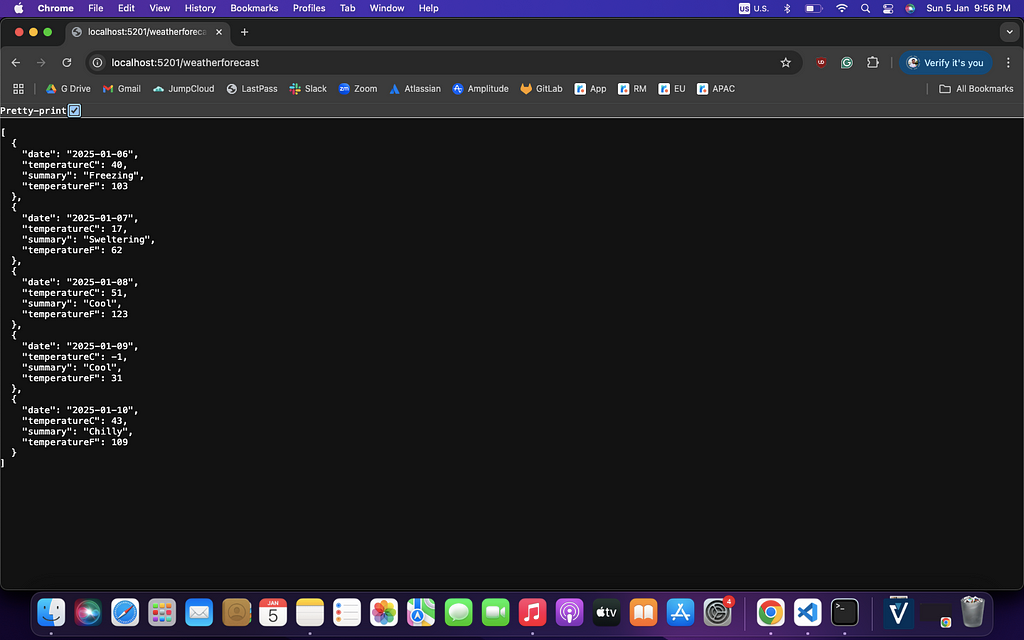
There is a sample app in todo_list_csharp_docker_beginner/todoListAPI/Program.cs and the endpoint /weatherforecast exist to check that the app is running accordingly
Take note of the endpoint in that above screenshot and run http://127.0.0.1:5201/weatherforecast You will get the screenshot below
Step 2: Create the Todo List API
a. Define the Todo List Model: Create a models directory and add a file with a filename TodoItem.cs with the model below
https://medium.com/media/e06186e5b2aeb48a10cc6090ec728731/href
b. Create a Database Context: Add TodoContext.cs in the Models directory
https://medium.com/media/be470e416cb94189465334fb082e166d/href
c. Register the context in the Program.cs: Update program.cs with the code snippet below and this will override the sample endpoint in the file Program.cs
https://medium.com/media/35d10c6be222b31aa422d82e3ee0efcd/href
d. Create the Health endpoint: Check if the app is running. Add HealthController.cs in the Controllers folder.
https://medium.com/media/7575cdb821691060283f04c0a54f0e73/href
Step 3: Create the Dockerfile
a. Create a Dockerfile: In the TodoListAPI folder, add a file named Dockerfile with the following content below
https://medium.com/media/ad89ea9cf1679bde4ec69d6aabc6371d/href
b. Create a .dockerignore file and add this code snippet. This will speed up the build process and reduce the image size.
bin/
obj/
.vs/
Step 4: Test the C# application from the Docker Image
The next step will be to build, run, and test the Docker image. The following command below will be used to build and run the Docker container.
docker build . -t todolist-csharp:v0.0.1
This command runs the Docker container
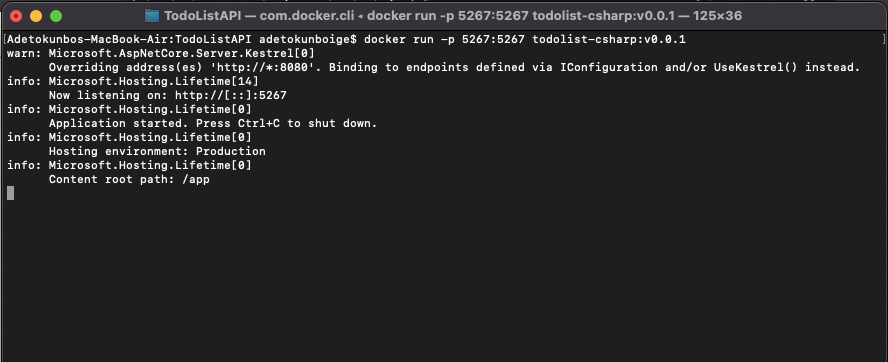
docker run -p 5267:5267 todolist-csharp:v0.0.1
You will have the screenshot below after running the command docker run command
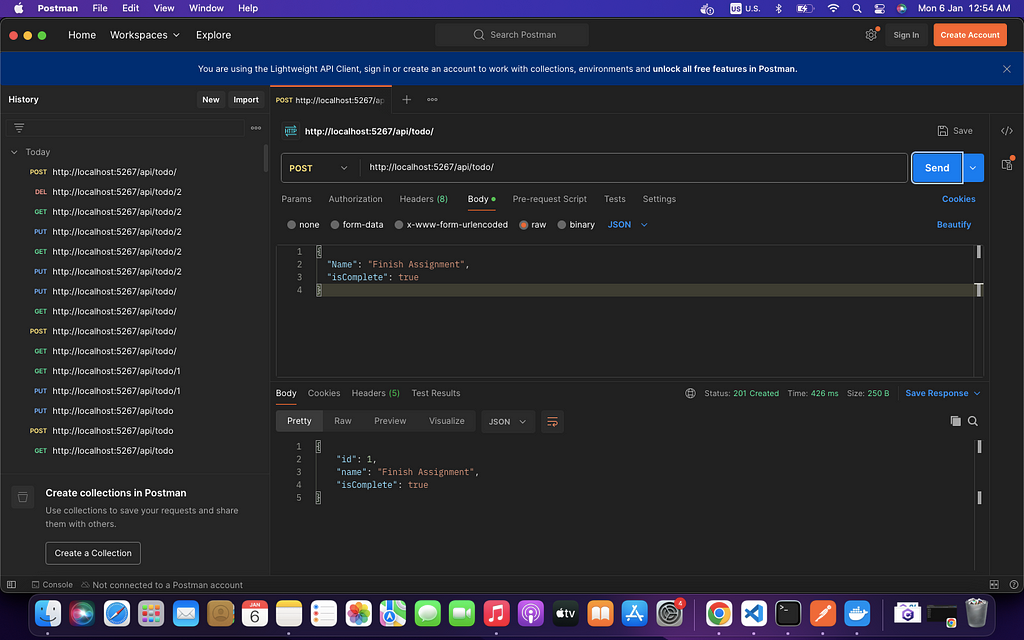
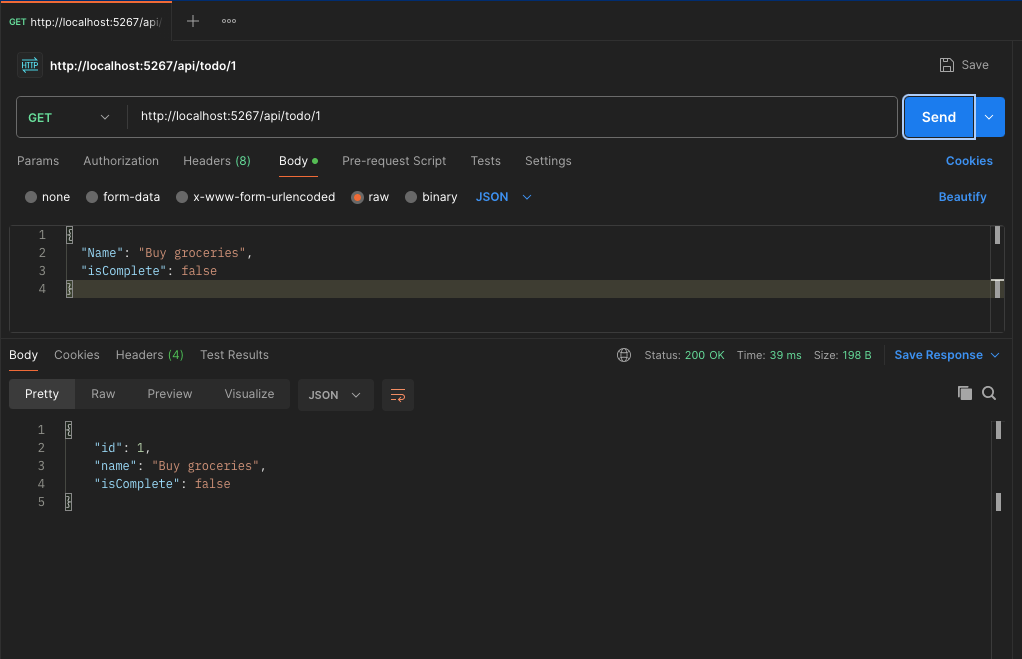
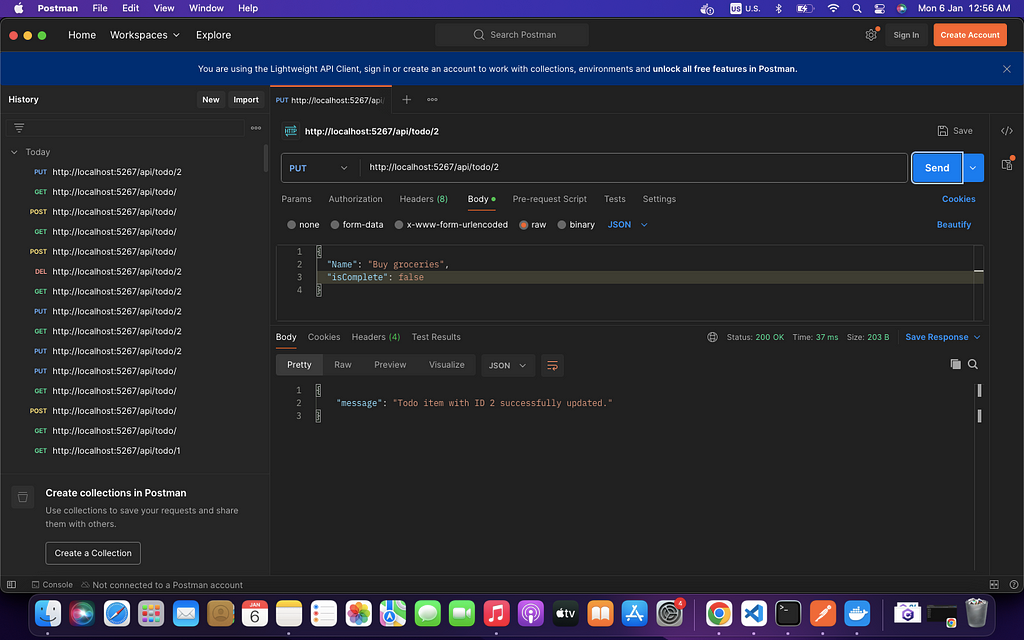
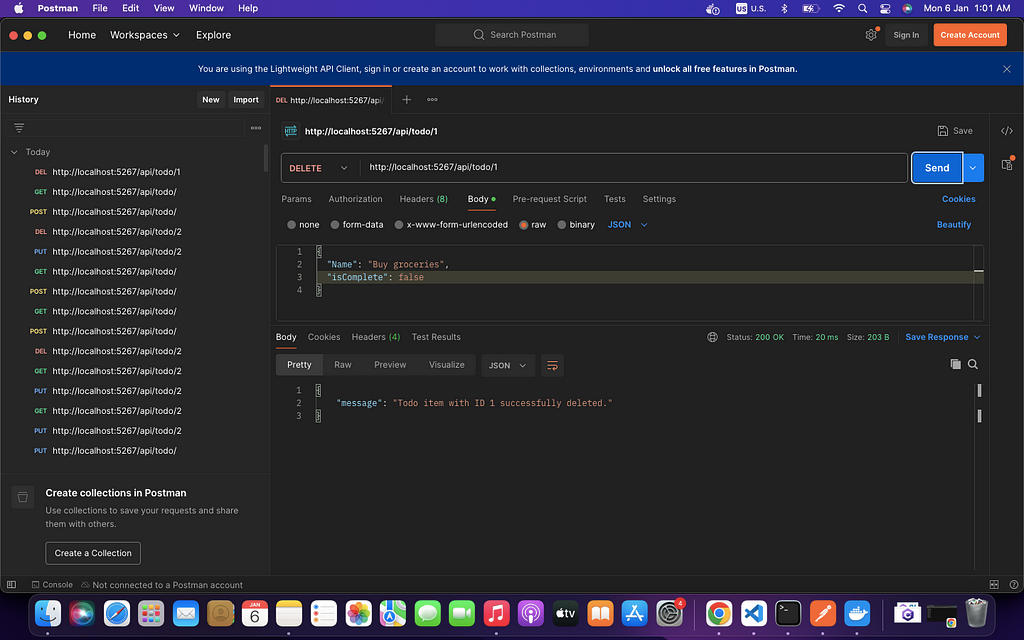
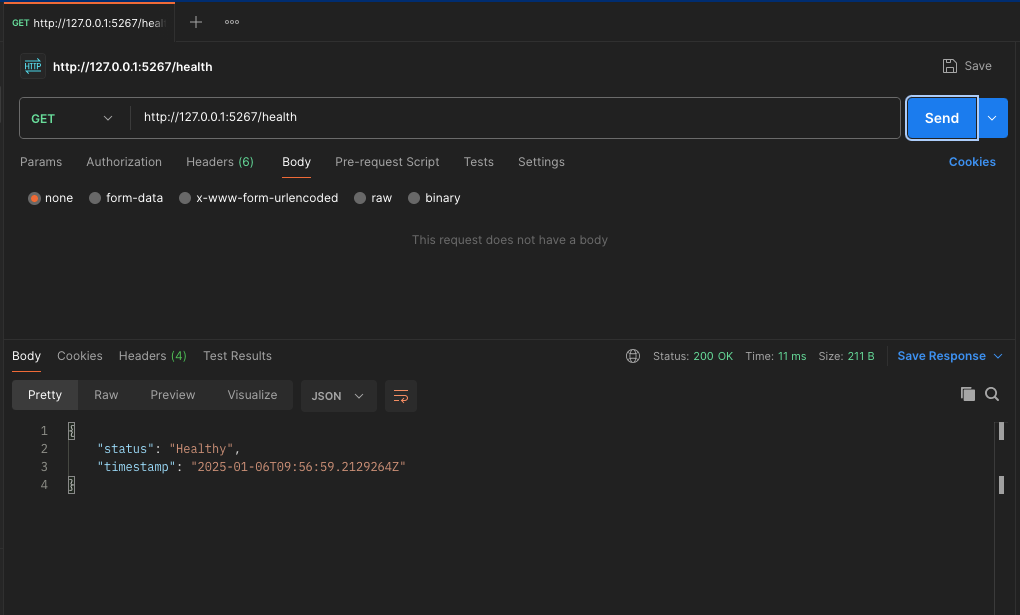
You can now test the API using tools like Postman, curl, or your browser. Below are screenshots from using Postman on how to make the API Calls
Get all todos: GET http://127.0.0.1:5267/api/todo
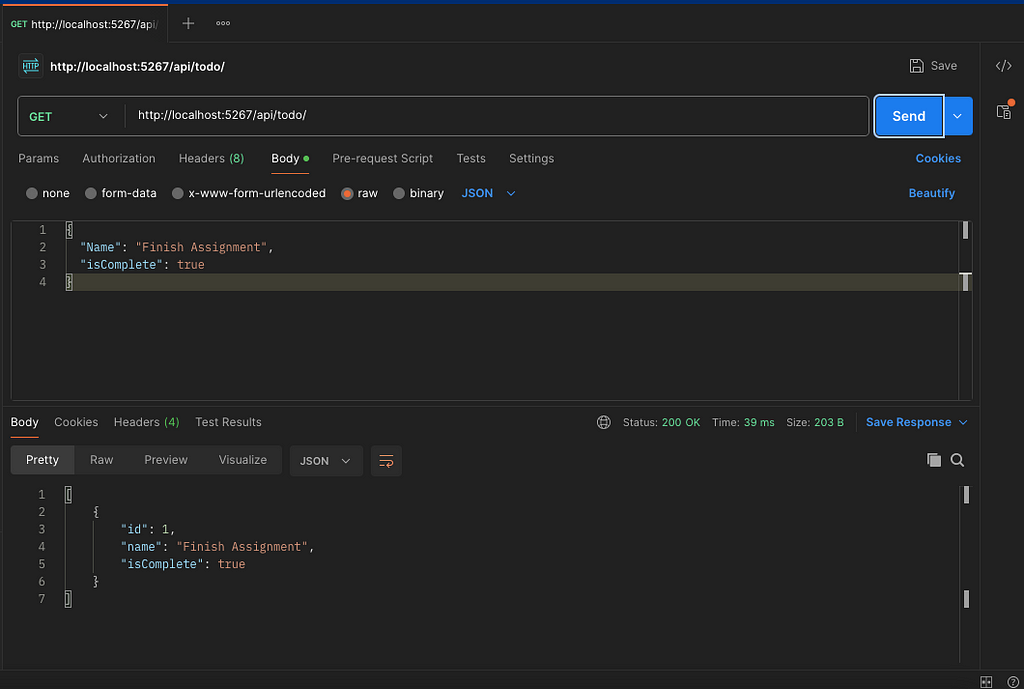
Create a todo: POST http://127.0.0.1:5267/api/todo
Get a specific todo: GET http://127.0.0.1:5267/api/todo/id replace id with the actual ID for example 1
Update a todo: PUT http://127.0.0.1:5267/api/todo/id with a JSON payload and where id is the actual id.
Delete a todo: DELETE http://127.0.0.1:5267/api/todo/id replace id with the actual ID for example 1
Health: GET http://127.0.0.1:5267/health to check the health endpoint.
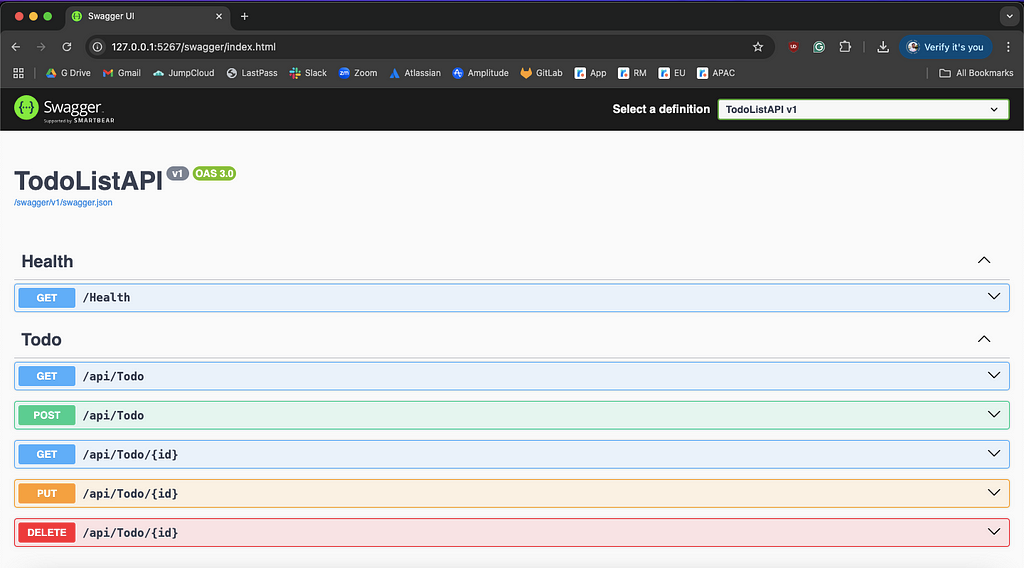
Swagger: GET the swagger endpoint from your browser http://127.0.0.1:5267/swagger/index.html
Follow this Step to Deploy Docker Image to Azure Container Registry (ACR) and deploy the Docker Image to Azure Container App using GitHub Actions
Step 1: Authenticate with Azure using OIDC.
Using OIDC (OpenID Connect) allows secure, short-lived and GitHub managed identities to access Azure resources without storing secrets in GitHub. OIDC uses federated tokens, which mean that Azure issues a token only when it is needed and only to a trusted identify providers (GitHub or GitLab). By using OIDC, this reduces risk of credentials getting leaks since OIDC will generate short lived credentials (temporally).
a. Login to the azure account using the appropriate Azure subscription
# Login to your azure account and select the subscription
az login
b. Set the active subscription for your Azure CLI session
Replace
az account set --subscription
c. Create a Federated Identity and Role Assignment.
#!/bin/bashset -e # Exit on any error
# Variables
ACR_NAME="todocsharp"
SUBSCRIPTION_ID=$(az account show --query id -o tsv)
RESOURCE_GROUP="todo-csharp-project"
AZURE_TENANT_ID=$(az account show --query tenantId -o tsv)
AZURE_AD_APP_NAME="github-csharp-oidc"
GITHUB_REPO="ExitoLab/todo_list_csharp_docker_beginner"
LOCATION="eastus"echo "Starting Azure setup for GitHub OIDC..."
echo "Subscription: $SUBSCRIPTION_ID"
echo "Tenant: $AZURE_TENANT_ID"
echo "GitHub Repo: $GITHUB_REPO"# Create Resource group if it does not exist
echo "Creating resource group..."
az group create --name $RESOURCE_GROUP --location $LOCATION# Create ACR
echo "Creating Azure Container Registry..."
az acr create --name $ACR_NAME
--resource-group $RESOURCE_GROUP
--sku Basic
--location $LOCATION
--admin-enabled true# Create app registration
echo "Creating Azure AD app registration..."
az ad app create --display-name "$AZURE_AD_APP_NAME"# Get clientId
APP_ID=$(az ad app list --display-name "$AZURE_AD_APP_NAME" --query "[0].appId" -o tsv)if [ -z "$APP_ID" ]; then
echo "Error: Failed to create or retrieve app registration"
exit 1
fiecho "App ID: $APP_ID"
# Create service principal from the app ID (skip if already exists)
echo "Creating service principal..."
if ! az ad sp show --id $APP_ID &>/dev/null; then
az ad sp create --id $APP_ID
echo "Service principal created."
else
echo "Service principal already exists, skipping creation."
fi# Create federated credentials for different scenarios
echo "Creating federated credentials..."# Main branch
az ad app federated-credential create --id $APP_ID --parameters '{
"name": "github-oidc-main-container-app",
"issuer": "https://token.actions.githubusercontent.com",
"subject": "repo:'"$GITHUB_REPO"':ref:refs/heads/main",
"description": "OIDC GitHub Main Branch",
"audiences": ["api://AzureADTokenExchange"]
}'# Pull requests
az ad app federated-credential create --id $APP_ID --parameters '{
"name": "github-oidc-pr-container-app",
"issuer": "https://token.actions.githubusercontent.com",
"subject": "repo:'"$GITHUB_REPO"':pull_request",
"description": "OIDC GitHub Pull Requests",
"audiences": ["api://AzureADTokenExchange"]
}'# Get ACR resource ID
ACR_ID=$(az acr show --name $ACR_NAME --query id -o tsv)# Assign ACR roles
echo "Assigning ACR permissions..."
az role assignment create --assignee $APP_ID
--role "AcrPush"
--scope $ACR_IDaz role assignment create --assignee $APP_ID
--role "AcrPull"
--scope $ACR_ID# Add Contributor role to resource group to grant access to Azure Container App Service
echo "Assigning Contributor role on the Resource Group..."
az role assignment create
--assignee $APP_ID
--role "Contributor"
--scope "/subscriptions/$SUBSCRIPTION_ID/resourceGroups/$RESOURCE_GROUP"# Get ACR login server
ACR_LOGIN_SERVER=$(az acr show --name $ACR_NAME --query loginServer -o tsv)echo ""
echo "=== Setup Complete! ==="
echo ""
echo "Add these secrets to your GitHub repository:"
echo "AZURE_CLIENT_ID: $APP_ID"
echo "AZURE_TENANT_ID: $AZURE_TENANT_ID"
echo "AZURE_SUBSCRIPTION_ID: $SUBSCRIPTION_ID"
echo "ACR_LOGIN_SERVER: $ACR_LOGIN_SERVER"
echo ""
echo "Your GitHub Actions workflow can now authenticate with Azure using OIDC!"
echo "ACR Name: $ACR_NAME"
echo "Resource Group: $RESOURCE_GROUP"
d. The following permission will be created below
| CapabilityPermission    | Access |
|-------------------------|--------|
| Pull images             | ✅ Yes |
| Push images             | ✅ Yes |
| List repositories/tags  | ✅ Yes |
| Delete images/tags      | ✅ Yes |
| Read/write access       | ✅ Yes |
Step 2: Create GitHub Actions and use the OIDC
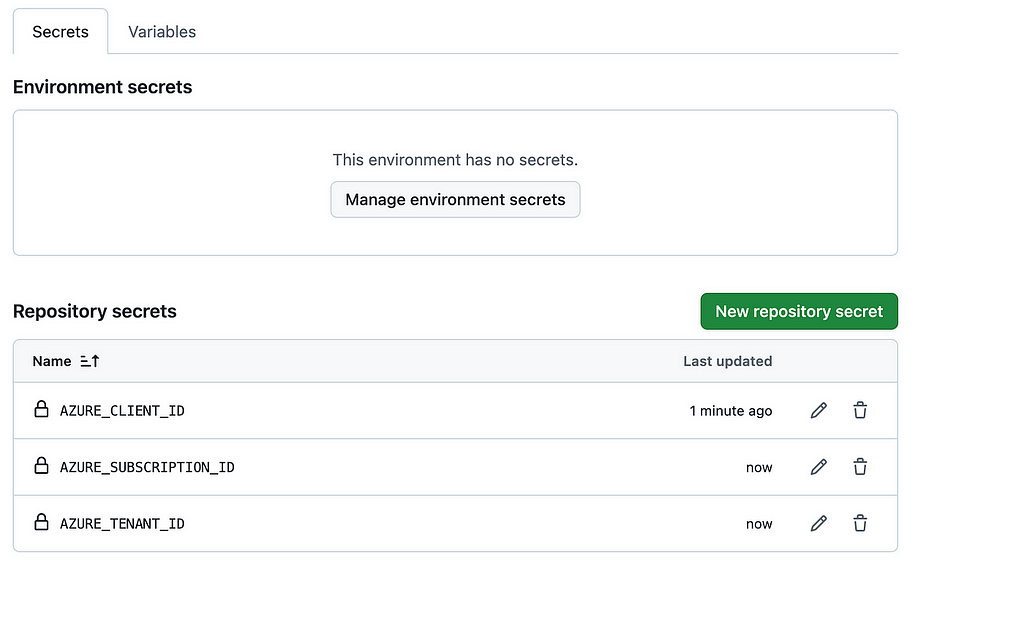
Once you run the script above it will generate the following
echo "AZURE_CLIENT_ID: $APP_ID"
echo "AZURE_TENANT_ID: $AZURE_TENANT_ID"
echo "AZURE_SUBSCRIPTION_ID: $SUBSCRIPTION_ID"
a. Create a secrets in GitHub similar with screenshot below
b. Below is a copy of the GitHub Action deploy workflow
name: Build and Deploy .NET App to Azure Container Appon:
push:
branches:
- main# Required for OIDC authentication
permissions:
id-token: write
contents: readjobs:
build-and-deploy:
runs-on: ubuntu-latestenv:
ACR_NAME: todocsharp
IMAGE_NAME: todolistapi
RESOURCE_GROUP: todo-csharp-project
CONTAINER_APP_NAME: todo-csharp-app
CONTAINER_ENV_NAME: todo-csharp
LOCATION: eastussteps:
- name: Checkout code
uses: actions/checkout@11bd71901bbe5b1630ceea73d27597364c9af683     #v4.2.2- name: Set up Docker Buildx
uses: docker/setup-buildx-action@b5ca514318bd6ebac0fb2aedd5d36ec1b5c232a2   #v3.10.0- name: Azure Login via OIDC
uses: azure/login@a457da9ea143d694b1b9c7c869ebb04ebe844ef51           #v2.3.0
with:
client-id: ${{ secrets.AZURE_CLIENT_ID }}
tenant-id: ${{ secrets.AZURE_TENANT_ID }}
subscription-id: ${{ secrets.AZURE_SUBSCRIPTION_ID }}- name: Log in to ACR
run: az acr login --name $ACR_NAME- name: Build Docker image and push to ACR
env:
IMAGE_NAME: ${{ env.IMAGE_NAME }}
ACR_NAME: ${{ env.ACR_NAME }}
run: |
TAG="$ACR_NAME.azurecr.io/$IMAGE_NAME:${{ github.sha }}"
echo "Building Docker image: $IMAGE_NAME with tag: $TAG"
docker buildx build --platform linux/amd64,linux/arm64 --push -t $TAG -f TodoListAPI/Dockerfile .- name: Create Container App if it doesn't exist and deploy
env:
IMAGE_NAME: ${{ env.IMAGE_NAME }}
ACR_NAME: ${{ env.ACR_NAME }}
run: |
ACR_LOGIN_SERVER=${ACR_NAME}.azurecr.io# Ensure Container App Environment exists
if ! az containerapp env show --name $CONTAINER_ENV_NAME --resource-group $RESOURCE_GROUP &>/dev/null; then
echo "Creating Container App Environment: $CONTAINER_ENV_NAME"
az containerapp env create
--name $CONTAINER_ENV_NAME
--resource-group $RESOURCE_GROUP
--location $LOCATION
else
echo "Container App Environment already exists."
fi# Check if container app exists
if ! az containerapp show --name $CONTAINER_APP_NAME --resource-group $RESOURCE_GROUP &>/dev/null; then
echo "Creating Container App: $CONTAINER_APP_NAME"
az containerapp create
--name $CONTAINER_APP_NAME
--resource-group $RESOURCE_GROUP
--environment $CONTAINER_ENV_NAME
--image $ACR_NAME.azurecr.io/$IMAGE_NAME:${{ github.sha }}
--registry-server $ACR_LOGIN_SERVER
--target-port 5267
--ingress external
--query properties.configuration.ingress.fqdn
--cpu 0.5 --memory 1.0Gi
else
echo "Updating existing Container App: $CONTAINER_APP_NAME"
az containerapp update
--name $CONTAINER_APP_NAME
--resource-group $RESOURCE_GROUP
--image $ACR_LOGIN_SERVER/$IMAGE_NAME:latest
fi
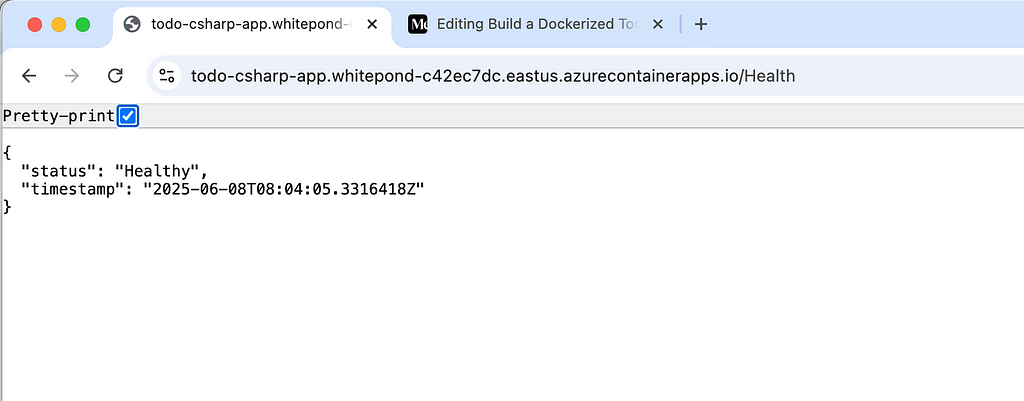
Once the workflow runs, it will deploy the Docker container to Azure Container App. If the deployment is successful, a URL will be generated which will be used to check the application code.
Below is a screenshot of the application, showing the health endpoint check.
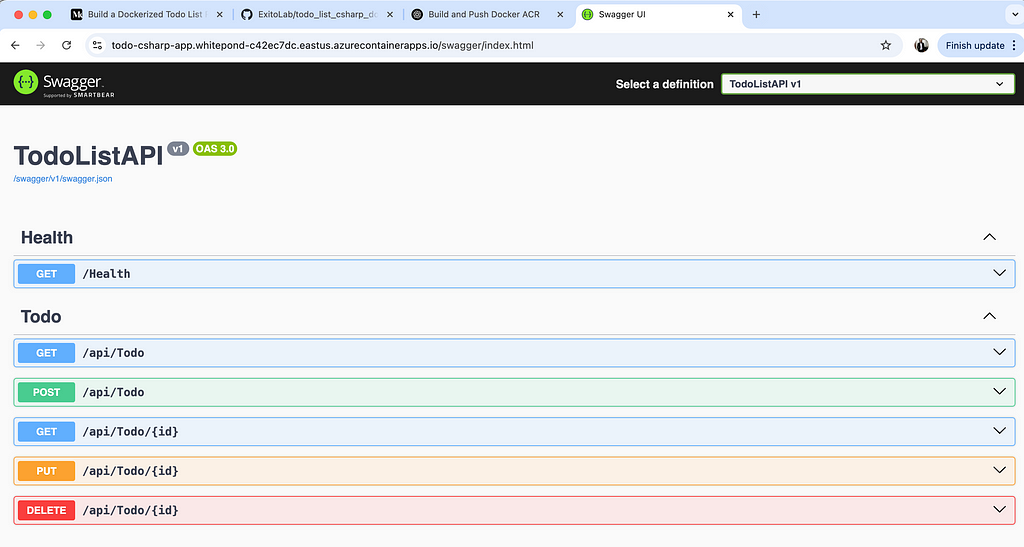
c. Below is a screenshot of the swagger endpoint deployed on Azure Container Apps
Conclusion
By now, you should have a solid understanding of how to build a Dockerized Todo List RESTful API in C#. From setting up the project, to containerizing the application with Docker, and finally deploying it to Azure Container Apps using GitHub Actions, you’ve learned the key steps to create a scalable and portable API.
Leveraging Docker with C# enables you to easily deploy, manage, and scale your applications across various environments without worrying about inconsistencies. You can find the complete code for this project in my GitHub repo.